Accessing the Attendant Console
You need the Webex app to access the Attendant Console.
- Open the Webex app and click the Attendant Console icon in the menu on the left.
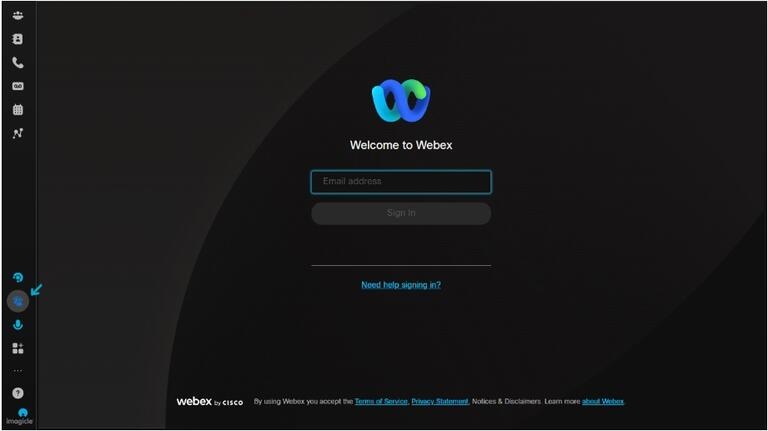
- 2Enter your login credentials.
When logging in for the first time, a list of authorizations will be displayed on the screen. Click Accept.
Are you an administrator?
To assign access to the console to a user or to view the list of configured users, follow the instructions described here.
Managing contacts
If you're using the Webex Attendant Console for the first time, you'll need to enter your personal contacts manually.
To add personal contacts, follow the steps below, or watch this video :
- Use the Personal Contacts tab, then click Create.
- Enter the name and phone number of the person you want to add, then click Confirm.
- You can edit, delete, and call the contacts you've created. Hover over the contacts panel and click the button for the desired action.
When you add personal contacts, those same contacts appear in the Webex app contact list, and vice versa.
Adding a personal note to a contact
Use the Attendant Console to add notes to your favourite colleagues and contacts. Hover over the contacts panel, choose the contact, and then click on the Add Note option. Notes are private and limited to 255 characters.
Organizing your contacts with customizable tabs.
Customizable tabs allow you to define, rename, and reorder contacts according to the needs of your organization or your personal workflows.
You can, for example, organize contacts by department or by priority group.
The tab management menu can be accessed from the top right corner of the contact panel interface.
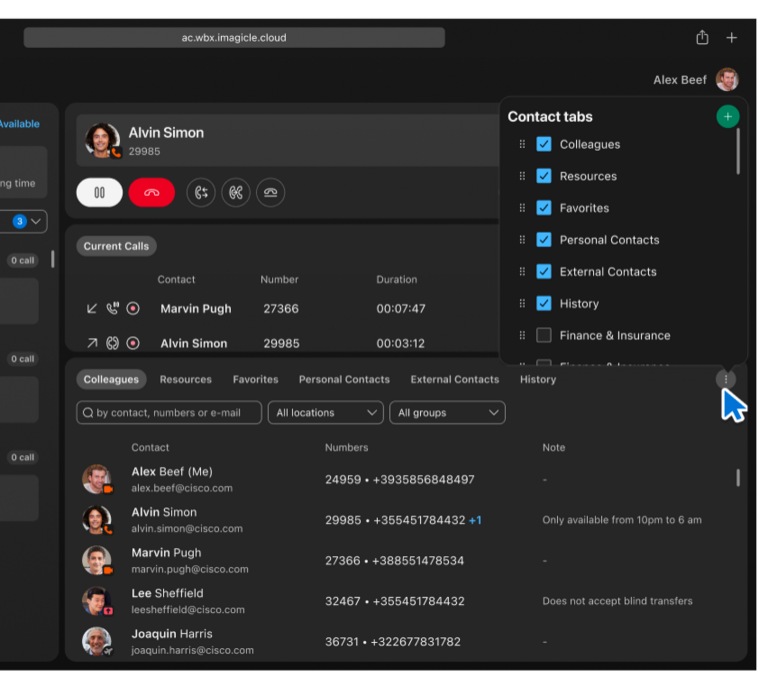
Click on the icon to open a menu where you can:
- Show or hide existing tabs.
- Add new custom tabs.
- Reorder tabs.
You can assign a contact to one or more categories. Click a contact's star icon to view a list of tabs. Check the categories you want to assign to this contact.
Making calls
To make a call using the Colleagues, Favourites, Personal Contacts, or History tabs, scroll down to the desired contact.
Making a call with your keypad
Enter a valid number and press Enter on your keypad, or click the Call button.
You can also click on the handset icon to perform a quick search and call a stored contact.
Making a call with Fast Search
- Click the Start New Call button. The Fast Search panel displays information that simplifies the call process.
- In the Fast Search panel, enter your search criteria to locate the contact you want. You can search by name, phone number, or extension.
- Find the contact you want to call, then select one of the numbers listed (mobile, landline, or extension).
- Click the Call button associated with the chosen number to initiate the call.
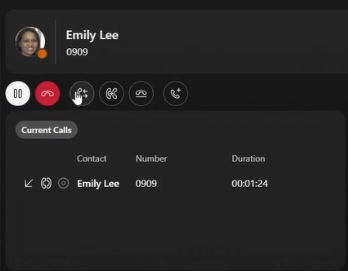
Receiving and transferring calls
To answer a call, click the Answer Call button on the keypad or use the Current Calls panel.
Placing a call on hold
Use the Hold/Resume key to control the calls in progress. You can pause a call and then resume the conversation.
Place a Call on Hold
To put a call on hold, click the Place a Call on Hold button.
Resume a Held Call
To resume a call on hold, click the Resume button.
You can resume a call from the Current Calls panel. Double-click the call or click the Resume button that appears when you hover over the call.
Transferring a call
Direct transfer
The Transfer Now feature redirects a call in progress without first consulting the recipient. Use this method to transfer a call to another agent, department, or external contact.
To make a direct transfer, follow the steps below:
- Click on the Start Blind Transfer button.

- 2 Fast Fast Search panel will appear. Use it to locate the contact.
- 3 Transfer the call to the contact's extension or mobile phone number and then complete the blind transfer.
Assisted transfer
The Call First feature allows you to place the caller on hold and consult with the recipient before making the call transfer.
To perform a call transfer with call waiting, follow the steps below:
- Click on the Start Consultation Transfer button.
- 2 Search for the contact you want to consult, then click the button to start the consultation.
- 3 Then click Complete Transfer to complete the transfer.
Transferring to voicemail
- 1 Access the Fast Search panel.
- 2 Click on the Transfer to Voice Mail button to redirect the call to the selected contact's voicemail.
Starting a conference call
Allows two or more participants to take part in a conversation.
- Start the first call. Call the first participant.
- Start the second call. Call the second participant. The first participant is automatically put on hold.
- Merge the two calls by using the Merge Call in Conference button on the line corresponding to the original call on the Calls tab.
You can add or remove participants during the call.
Good to know
For more information on how to set up or use the Attendant Console, including compatible systems, visit the Webex website.
Not yet a Videotron Business customer?
Take advantage of reliable, flexible, and scalable voice and communications solutions for business. Discover Business Telephony
Still need help?

Customer Service
For any questions about your account or invoice, or to modify or add services.

